


Publishing dynamic content is one of the key selling points of content management systems (CMS) like WordPress. Content can change based on user input or other conditions. This is useful for everything from e-commerce sites to online publications. There are also simple use cases – even for brochure websites.
But what happens if some of your critical data lives elsewhere? There may be a plugin that integrates with the third-party service you’re using. Or, you might build a custom solution from scratch.
The Remote Data Blocks plugin aims to make fetching data from outside sources easy. It integrates with services like Airtable, Google Sheets, and Shopify out of the box. There’s also a framework for connecting to other services via HTTP. Once connected, you can display your data via a WordPress block and customize it with a pattern.
How does it work? Let’s put the plugin to the test with a sample project. We’ll guide you through each step and see what we can accomplish together. Here we go!
Sample Project: Display a Google Sheet in WordPress
To test Remote Data Blocks’ capabilities, we’ll use the plugin to fetch data from a Google Sheet. The file contains contact information for an employee directory.
The process includes installing the plugin, connecting to Google Cloud Platform (the most time-consuming part), and displaying the data on our website using the included block. We’ll also need to create a block pattern to style our data.
Step 1: Install the Remote Data Blocks Plugin
The first step is to install the latest version of Remote Data Blocks on your WordPress website:
- Log in to your WordPress website and navigate to Plugins > Add Plugin.
- Search for “Remote Data Blocks” and find the plugin in the provided list.
- Install and activate the plugin.
We’ll come back to the plugin settings later in our tutorial.
Step 2: Configure Google Cloud Platform
We have some work to do before we can connect a Google Sheet to WordPress. We’ll show you the steps below. The Remote Data Blocks team has also put together a helpful guide for this process.
2.1 Create a Project in Google Cloud Platform
To start, visit Google Cloud Platform to create a new project.
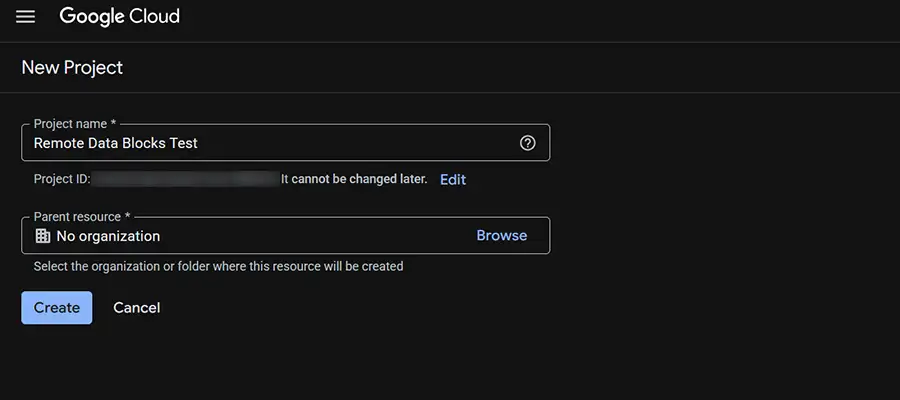
Hint: If you need help, Google has a project creation guide you can use as a reference. Google will ask for a project name and a parent resource. We’ll call our project Remote Data Blocks Test and leave the parent resource blank.
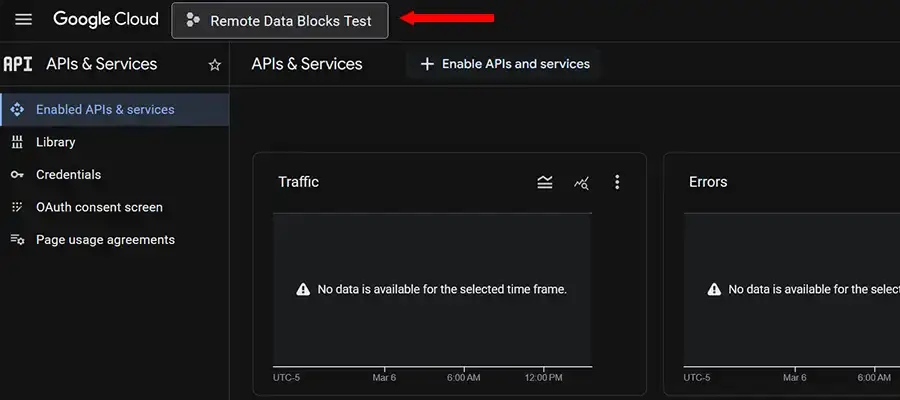
2.2 Connect to the Google Sheets and Google Drive APIs
Once the project is created, we’ll need to enable both the Google Sheets and Google Drive APIs. Here’s how:
- Using the left-hand menu, navigate to the Enabled APIs & Services page.
- Click on the Enable APIs and Services button.
- One at a time, search for and add the Google Sheets and Google Drive APIs.
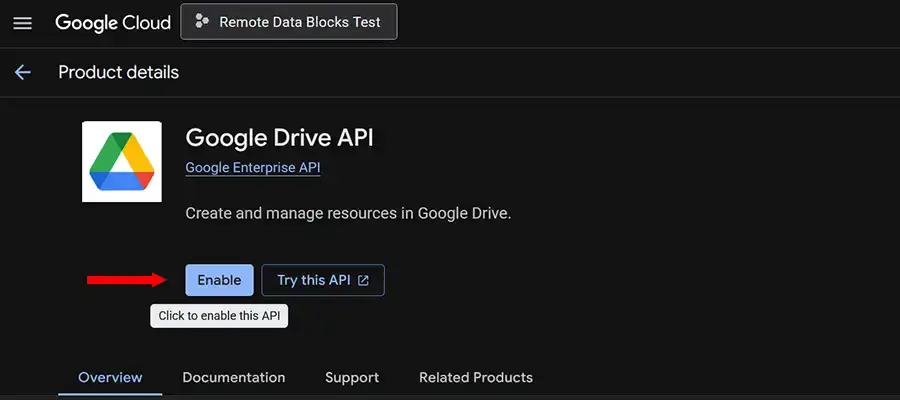
2.3 Enable the IAM API
Our project will also need access to the IAM API, as this handles authentication. Click the Enable the API button.
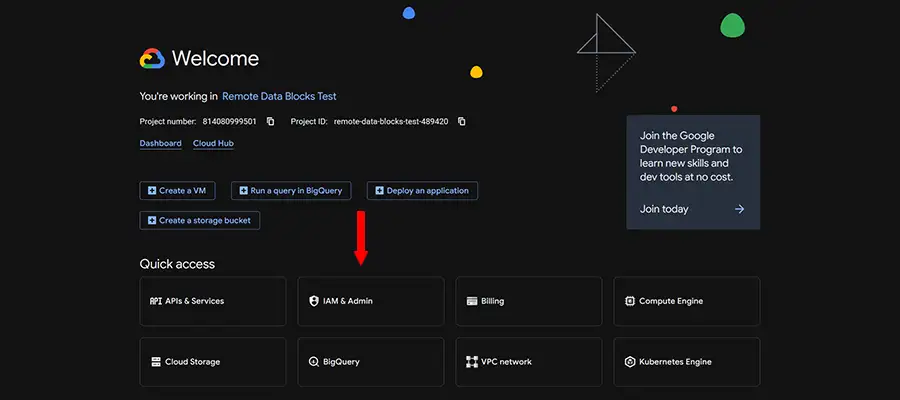
2.4 Create a Google Cloud Platform Service Account
After that, we’ll create a service account for the project. Head to the Google Cloud console website.
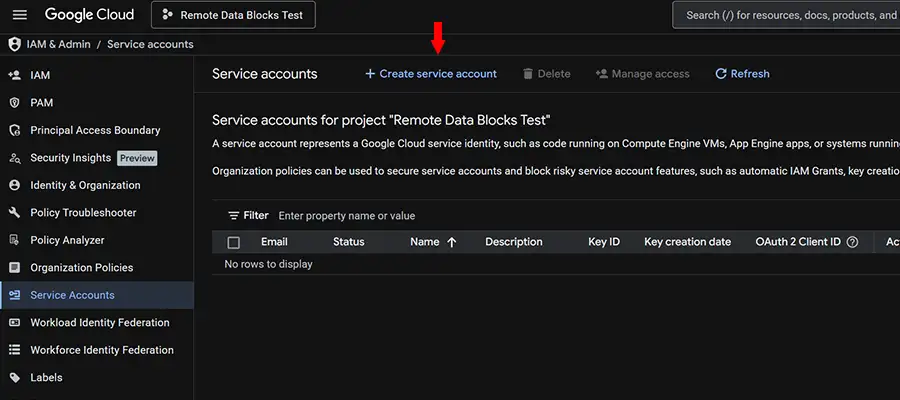
- Using the left-hand menu, navigate to the Service Accounts page.
- Click on the Create Service Account button.
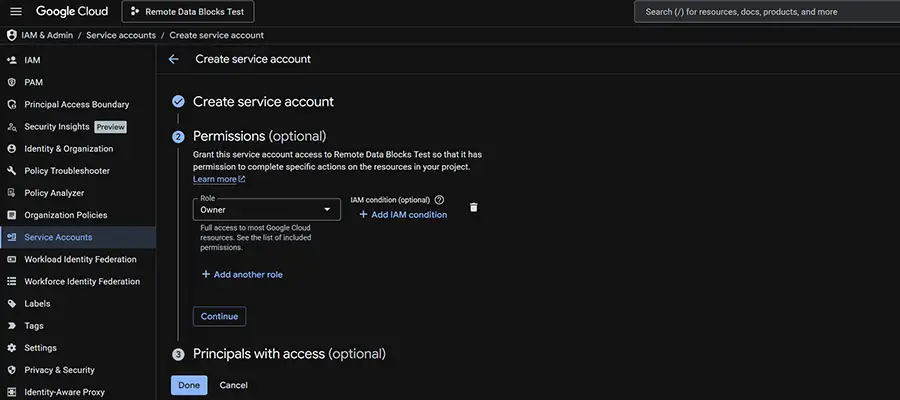
- Give your service account a name and click Continue.
- On the Permissions screen, choose Owner and click the Continue button.
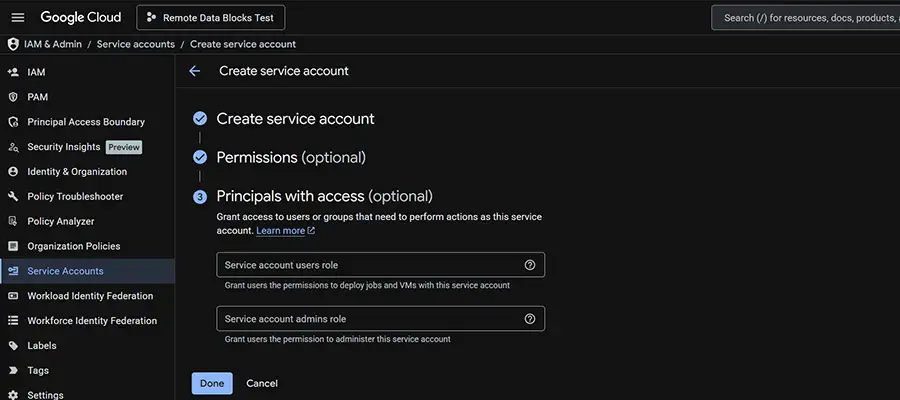
- The Principals screen can be left blank. Click Done.
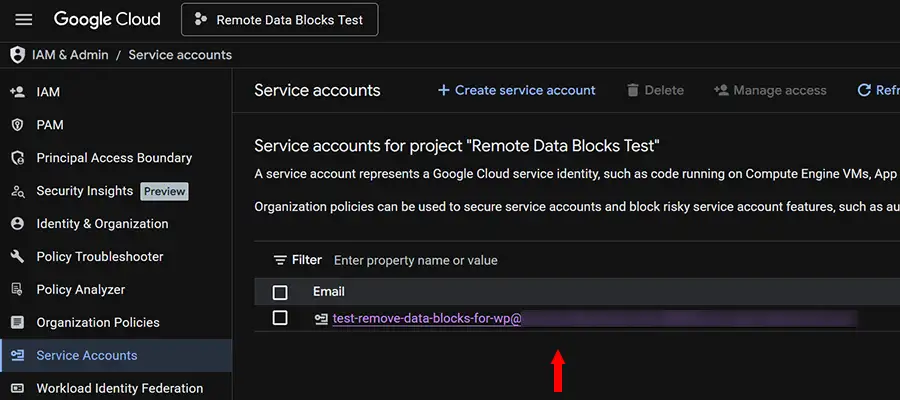
- When finished, you’ll be redirected to the Service Accounts page, where your new account will be listed.
2.5 Generate JSON Credentials
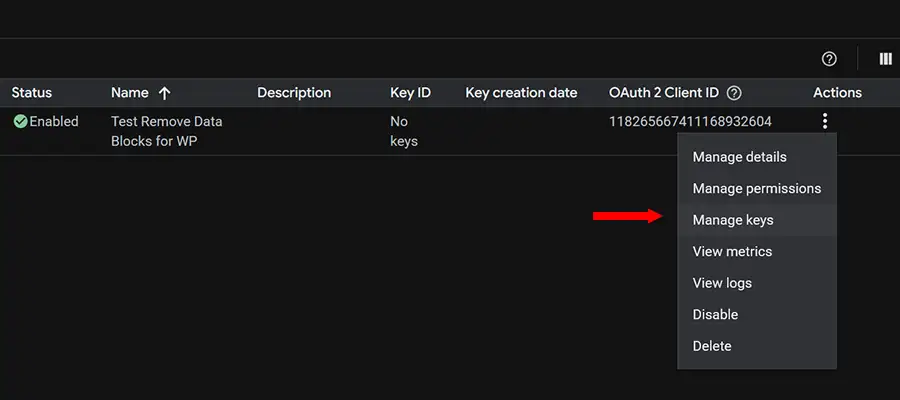
- Within your service account, click the options button (⋮) and select Manage Keys.
- On the Keys page, click the Add Key button and select JSON as the format. Click the Create button.
- Google Cloud platform will generate a JSON that you can download to your device.
Important: Note the generated email address associated with your service account – you’ll need it!
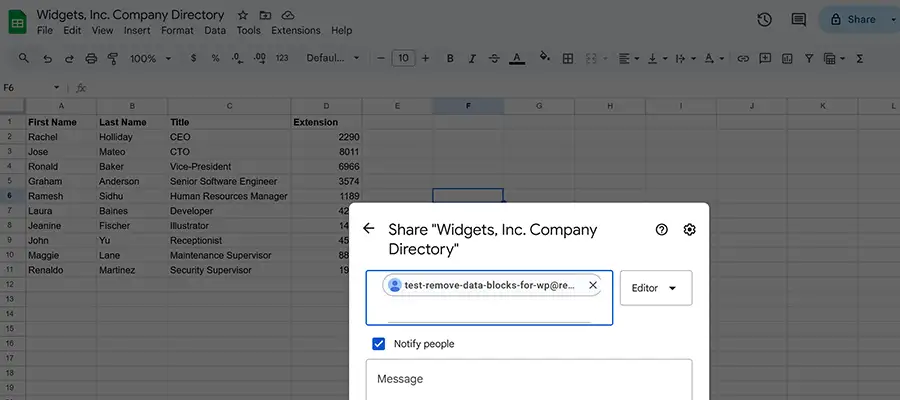
Remember the email address associated with your Google Service Account that we generated above? We’ll need it here.
We’ll head over to the Google Sheet we want to connect to our website and share it with the email address.
Step 4: Copy the Google Sheet ID
Next, we’ll locate the ID of our Google Sheet. We’ll need this detail to connect it to our website. The ID is located in the Sheet’s URL, like so:
https://docs.google.com/spreadsheets/d/test_spreadsheet_id/edit?gid=0#gid=0
We’re looking at the bolded area above (test_spreadsheet_id). We’ll copy our ID and keep it handy for the next step.
Step 5: Create a Data Source in Remote Data Blocks
We’re done with Google and on to our website. Navigate to Settings > Remote Data Blocks to connect our Google Sheet.
- On the settings page, click the Connect New button.
- Select Google Sheets from the menu.
- Give your data source a name (we chose Employee Directory).
- Paste the contents of the JSON file generated in Step 2.
- Click the Continue button.

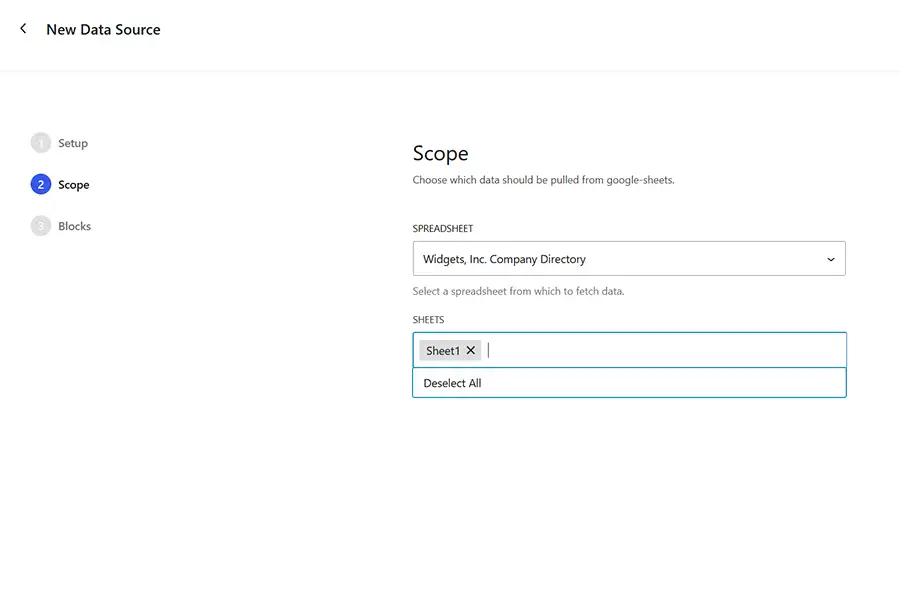
On the Scope screen, we’re asked to choose a spreadsheet from the menu. Ours is on the list. We’ll select it and the sheet we want to use (Sheet1), then click the Continue button.
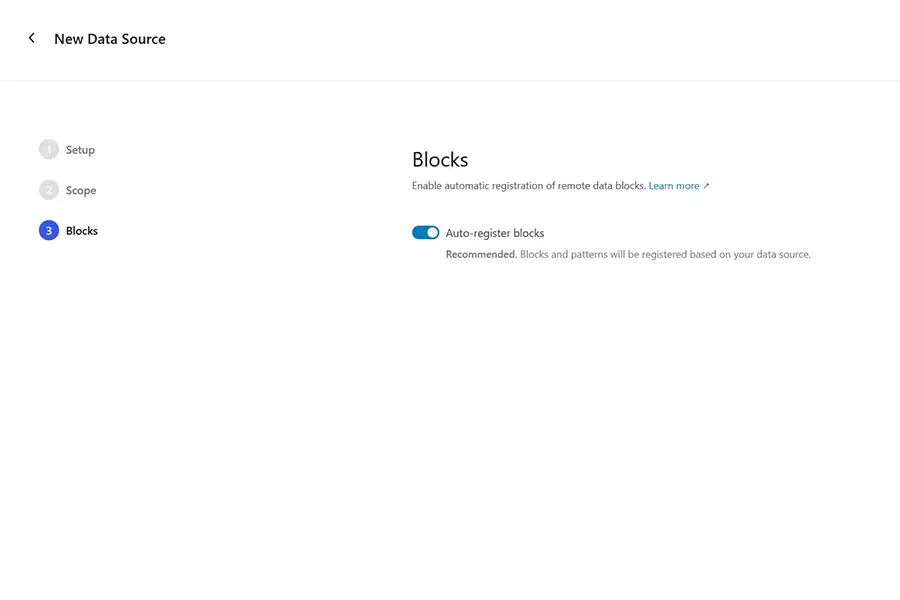
On the Blocks screen, we’ll choose the Auto-register blocks option and click the Save button.
Step 6: Insert the Remote Data Block Into a Page
Now, it’s time to add the remote data block to our page.
- Remote Data Blocks uses the data source name we provided in the last step. So, we’ll search for “employee directory” and add the block to the page. There are a couple of options, but we’ll choose Employee Directory/Sheet1 Loop. This option will automatically update the data when we edit our Google Sheet.
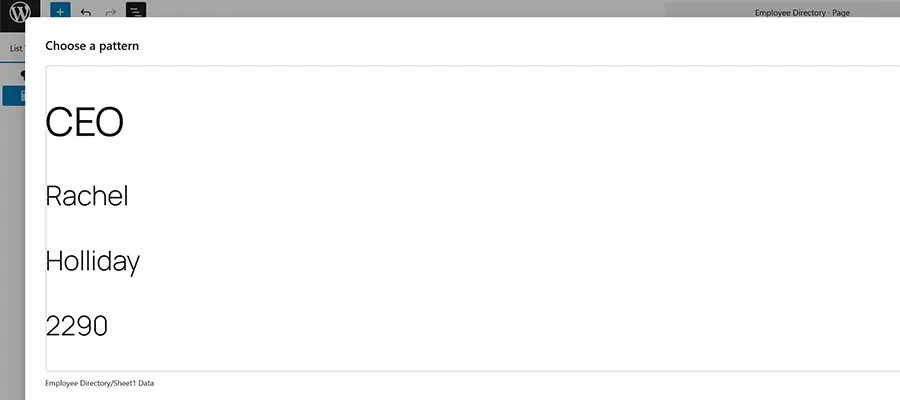
- The next step is to place our remote data into a block pattern. So, we’ll select Choose a Pattern and click the only available option.
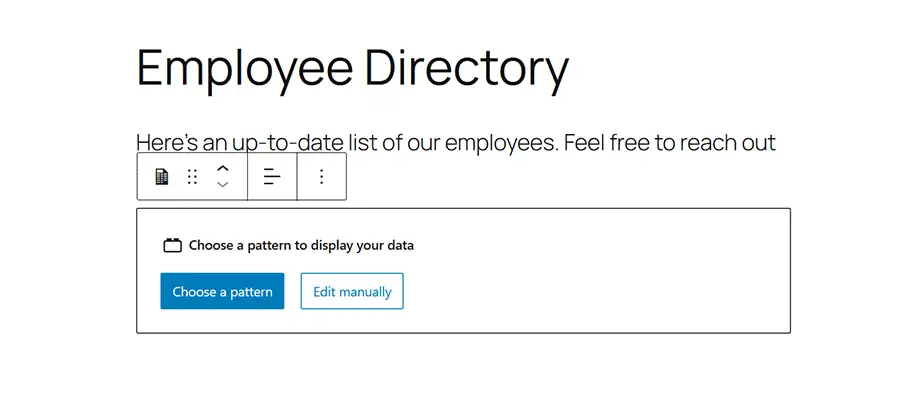
Note that the included pattern does not format the data into a table or anything resembling a spreadsheet. That’s OK, because we created a set of columns to house our data.
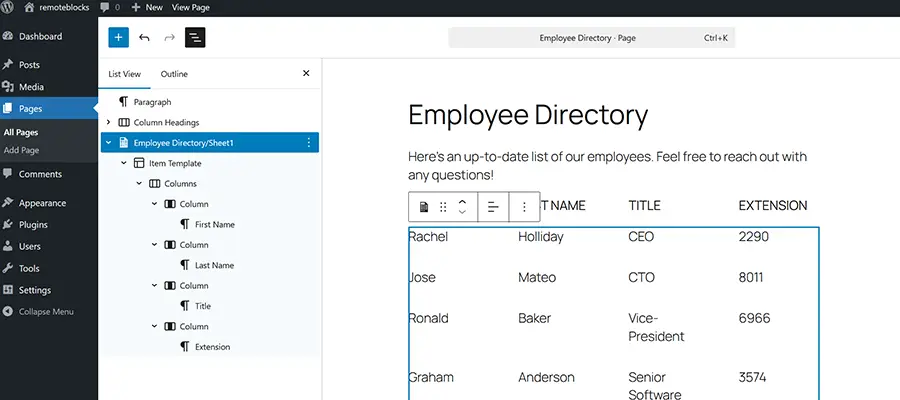
Dragging the various data points (First Name, Last Name, Title, Extension) into the Columns Block gave us a better layout. We can also use the Block Editor to make further improvements.
All Data Points Lead to WordPress
Fetching data from third-party sources is challenging. It’s also necessary, as we store our stuff all over the place. Remote Data Blocks helps by providing a framework we can build from.
There’s a lot of potential here, and we can imagine the plugin expanding in the future. Perhaps it works with more services out of the box. It might also include a few more block patterns to style common data types with ease.
The plugin could also empower non-technical site owners. For example, imagine updating a restaurant’s menu page by editing a Google Doc or another cloud-based file. They wouldn’t have to touch WordPress at all. It would eliminate their learning curve and ease our support requirements.
However, this is just the beginning. There are already plenty of niche uses for Remote Data Blocks and more to come. So, download the plugin and experiment!
Top


